Caring for porcelain and ceramic tiles
With the right care, your porcelain and ceramic tiles can look fresh and beautiful for decades. They’re among the most forgiving and long-lasting surfacing options. Let’s walk through what to do, what to avoid, and how to handle special cases.
Know your tile
Understanding your tile’s properties makes all the difference in choosing the right care routine.
- Porcelain vs Ceramic — Porcelain is fired at higher temperatures, making it denser, less porous, and more stain- and water-resistant.
- Glazed vs Unglazed / Through-Body — Glazed tiles have a surface coating that resists stains. Unglazed or through-body tiles carry their colour through their entire thickness and may absorb more dirt if not sealed.
- Textured / Anti-slip surfaces — These are great for safety (bathrooms, outdoor areas), but dirt can hide in the grooves. You’ll need a bit more agitation in cleaning.
Daily and Weekly Habits
Dry Debris Removal
- Use a soft-bristle broom, microfibre dry mop, or a vacuum with a soft floor attachment to gently remove dust, grit and crumbs.
- Pay special attention to entryways, edges, corners, and under furniture where grit accumulates.
Mop Smartly
- Use warm water and a pH-neutral, non-sulfate cleaner (check that it’s labelled safe for tile) when additional cleaning is needed.
- Wring the mop well. You want it damp, not dripping. Over-wetting grout can lead to dirt penetration.
- Work in manageable sections (e.g. 1–2 square metres) so the water and dirt don’t spread.
- Change mop water once it turns noticeably cloudy.
- Dry or buff the surface with a clean microfibre towel or mop head to avoid spots or haze.
Spill & Spot Response
For greasy spots, you may need an occasional stronger cleaner, just use sparingly and rinse thoroughly.
Blot liquids immediately (don’t let them sit).Use the same pH-neutral cleaner to lift the residue, rinse and dry.
Pro tip: Before doing a full clean, test your cleaning method on a small, hidden area to ensure it doesn’t damage the finish or grout.
Periodic Deep Cleaning and Grout Care
Over time, general cleaning may not remove everything — particularly in grout lines or textured tiles. Here’s how to step up the cleaning without hurting your tiles.
Deep Cleaning
- Use a soft brush or microfibre pad to agitate surface dirt. For textured tiles, pay attention to recesses and grooves.
- For heavier dirt or film, use a cleaner made for tile (still pH-neutral) or a manufacturer-recommended product. Avoid strong acids or harsh alkalis.
- Use steam cleaning (on safe settings) for bathrooms and areas where water is plentiful, but only on tiles rated for it and with sealed grout.
- Rinse meticulously. Any leftover cleaner becomes sticky over time, attracting more dirt.
Grout Lines
- Inspect grout periodically for cracks or gaps and repair them promptly. This prevents water or stain ingress.
- Grout is more porous than tile and tends to stain or darken. Use a grout-safe cleaner and a brush to lift stains.
- After cleaning, reseal grout (every 1–2 years or as needed) to protect against moisture, mould and dirt penetration.
Pro tip: Rotate rugs and mats. In high-traffic zones, rugs and mats collect grit but also wear the tiles underneath unevenly if left in the same spot. Rotate or shake them out regularly so foot traffic doesn’t leave a “path” impression across your floor
Sealing — When and What to Seal
Porcelain tiles generally don’t require sealing (especially glazed ones). The main focus is on grout and, in some cases, polished or textured porcelain.
- Before sealing, ensure surfaces are clean, dry and fully cured (especially in new installations).
- For polished porcelain, the polishing process can open micro-pores, so using a penetrating sealant can provide extra protection.
- Unglazed porcelain or very textured tiles may benefit from a breathable impregnating sealer to reduce absorption.
- Always use a sealer rated safe for use with your tile & grout materials.
- Apply sealers in well-ventilated areas, following the product instructions for drying times and reapplication schedules.
Care by Area
Different areas in your home will present different challenges. Here’s how to tailor care by location:
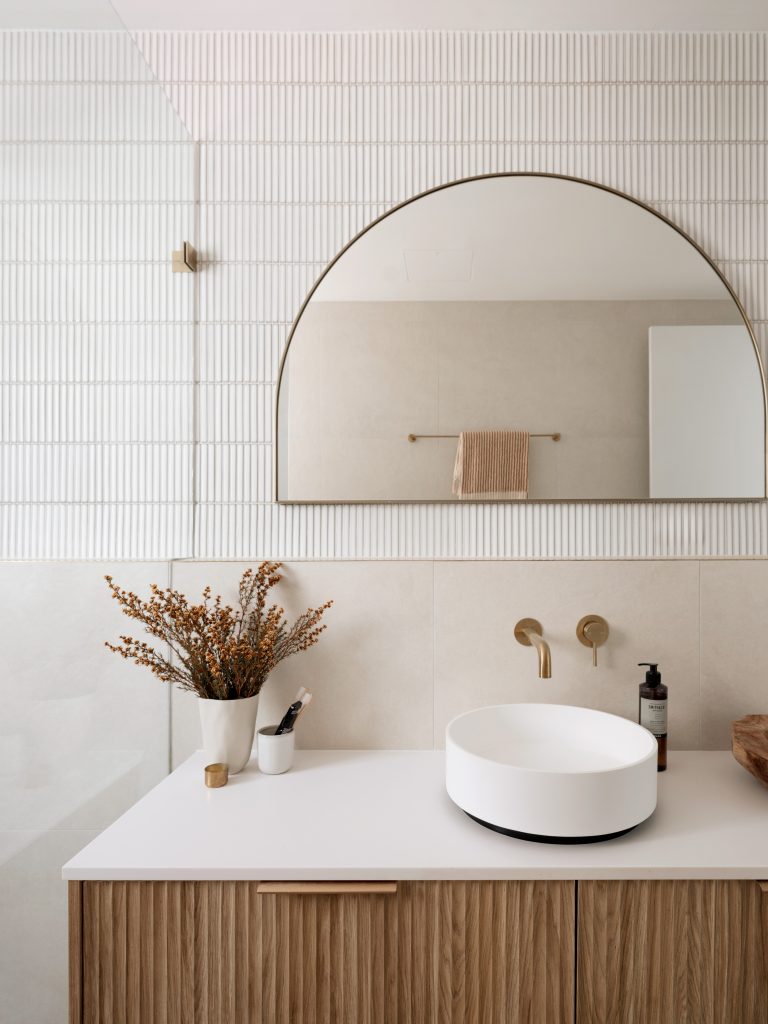
Bathrooms and Wet Areas
- Squeegee walls and glass after each use to reduce soap scum buildup.
- Use non-acidic soap scum removers when needed (avoid harsh acids).
- Ensure good ventilation (fans, windows) to keep grout dry and discourage mould.
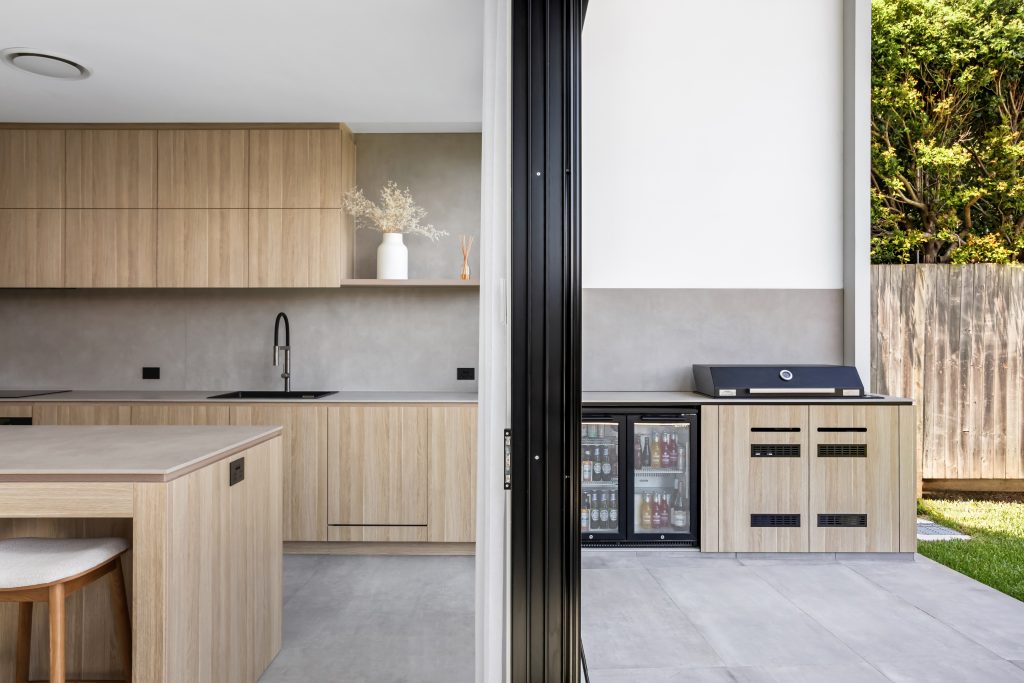
Kitchens and Splashbacks
- Wipe spills immediately (especially citrus, tomatoes, oils).
- For ovens, stovetops: avoid dragging pans across tile — use trivets.
- Avoid direct cutting on tile — use chopping boards. Ceramic or porcelain dishware can scratch porcelain surfaces.
Outdoor / Patio / Pool Surrounds
- In colder climates, avoid de-icing salts directly on porcelain — they can degrade grout over time.
- Sweep and rinse regularly to clear dirt, leaves, grit.
- Use mild detergent or oxygen-based cleaners for algae, moss or organic stains. Avoid harsh bleach or strong alkalis near plants.
- If using a pressure washer, use low to medium pressure and keep the nozzle at a safe distance (so you don’t damage grout or chip tiles).
Things to Avoid (and Why)
Knowing what not to do is just as important as knowing the right thing.
- Dragging heavy objects — always use felt pads or lift, don’t slide.
- Acidic cleaners (vinegar, lemon, bathroom sprays) — they can etch glaze, degrade grout, and dull surfaces.
- Bleach and strong alkalis — can damage grout and silicone joints.
- Wax or polish — leave residue buildup, making surfaces slippery or sticky.
- Abrasive tools or pads (steel wool, metal brushes, hard scouring pads) — scratch the tile surface.
- Mixing cleaning chemicals — this is dangerous and unpredictable. Especially don’t mix bleach and ammonia (can release toxic gases).
- Excess standing water — grout can soak in water and weaken over time.
| Problem | Likely Cause | Solution |
| Persistent haze or film | Residual cleaning agent, wax or sealers | Deep rinse with clean water, use remover designed for tile finishes |
| Mottled colour or patchy areas | Uneven cleaning, dirty rinse water | Re-clean in small zones, change rinse water often |
| Efflorescence (white powder on grout/tile) | Salts rising through substrate or grout | Brush dry, use grout-safe cleaner; address moisture ingress |
| Stains in grout lines | Porous grout absorbing spills | Use grout cleaner, re-seal grout |
| Algae, mould or moss outdoors | Moisture, shade, organic growth | Use mild fungicidal cleaners or oxygen-based cleaners; improve drainage and sunlight |
| Scratches or dull spots | Abrasive contact, dragging objects | For minor surface haze, buff gently with a polishing pad; for deeper damage, consult tile restoration |
Pro tip: Mind the grout colour. Light-coloured grout can darken over time, even with the best cleaning habits. Use a colour-matched grout sealer or a grout colourant pen to freshen lines and keep the tiled surface looking crisp and new.
Long-Term Care and Inspection
- Schedule a deep clean and grout check at least once a year (or more in high-traffic areas).
- Inspect grout lines and joints semi-annually, repairing cracks before they become bigger problems.
- For textured or high slip-resistance tiles, monitor grout wear — replenishing or restoring join fillings may be necessary over time.
- Keep a small “tile repair kit” on hand (extra grout, matching colour touch-up, sealer) so you can act quickly when needed.
Why All This Matters
- Looks last longer — consistent care preserves gloss, colour and uniform appearance.
- Structural integrity — grout and joints protect your tile installation; neglect leads to water ingress, cracking and deterioration.
- Safety — removing buildup and residue prevents slips in wet areas.
- Cost savings — minor upkeep beats large restoration jobs later.
DISCLAIMER All material on this website is published in good faith, however Skheme Pty Ltd does not warrant or represent the origin, validity, accuracy, completeness, timeliness, authenticity or reliability of, nor accept any responsibility for errors or omissions, in any material on this website or in any accompanying or other material, including advertisements, whether oral, visual, written, printed or electronic. Skheme Pty Ltd is not liable for any losses, claims, damages, demands, costs and expenses of whatsoever nature arising in any way, including those caused by negligence, out of or in connection with the use of this website, or any accompanying or subsequent information, or by reason of any reliance upon its contents by any person, company or organisation. All access to, and use of, the information is at the user’s risk. All technical details, recommendations and other information contained on this website represent the best of our knowledge and experience at the time of publishment. It is your responsibility to ensure that our products are used and handled correctly and in accordance with any applicable Australian Standard, our instructions and recommendations and only for the uses they are intended. Country specific recommendations, depending on local standards, codes of practice, building regulations or industry guidelines, may affect specific installation recommendations. The supply of our products & services is also subject to certain terms, warranties and exclusions, which may have already been disclosed to you in prior dealings or are otherwise available to you on request. Skheme reserves the right to alter, amend, vary or otherwise change any information on this website at any time and without prior notice to you to reflect our ongoing research and development program. The provision of any URL or link is done for the convenience of users of this website. It does not constitute an endorsement by the Skheme of that URL or link or the information at that Internet site. Potential customers should speak to a Skheme consultant regarding the qualities, colours and textures of all Skheme products before purchase.